
First we removed all of the old sand that was in the bunker, exposing the drainage as well. This particular bunker on number 12 had about 8-10 inches of sand in it. This bunker also had part of the face collapse and part of our process was to re-establish the shape this bunker was intended to have.
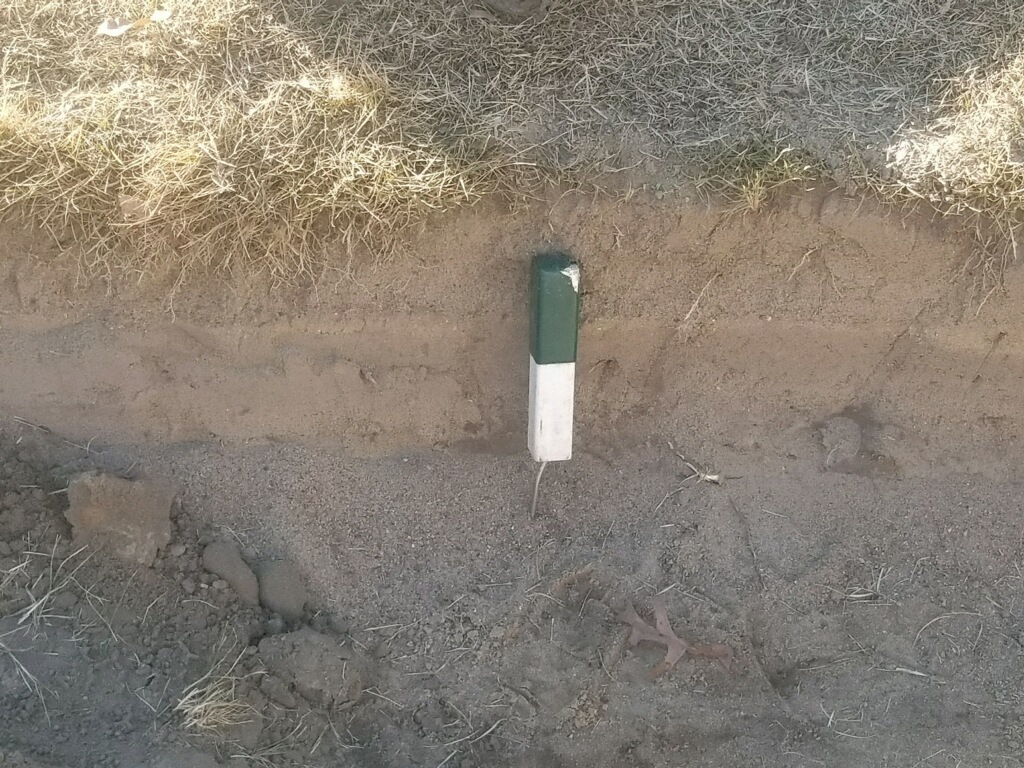
This picture with the stake helps show how deep this bunker was from the lip. These green and white stakes are approximately 9 inches tall. As you can see in the picture, the lip is still about 2-3 inches above the top of the stake. Because of this difference between the floor of the bunker and lip is why we are raising the floor in this bunker. The discrepancy between the lip of the bunker and the floor makes it difficult to keep the sand raked up on the edges.

Here you can the guys bringing in dirt to start shaping the collapsed face and raise the floor. We brought in roughly 12 tons of dirt into this bunker to raise the floor to the correct depth.

This is the new floor base of this bunker after the dirt work had been completed. You can see we shaped the dirt for sod to establish the shape again, as well as bringing the floor to the correct depth. After this was completed, we started to trench in the drain line. Once the drain line is installed we fill with pea gravel.


After covering the drain tile with pea gravel, and before adding our bunker sand, we installed new zoysia sod along the collapsed face. Bringing the shape of the bunker back to its original design.


Here is what the bunker looked like with new sod installed and the drain tile covered in pea gravel. The final step was to bring in the bunker sand and spread uniformly at a depth of 4-6 inches, USGA specifications.
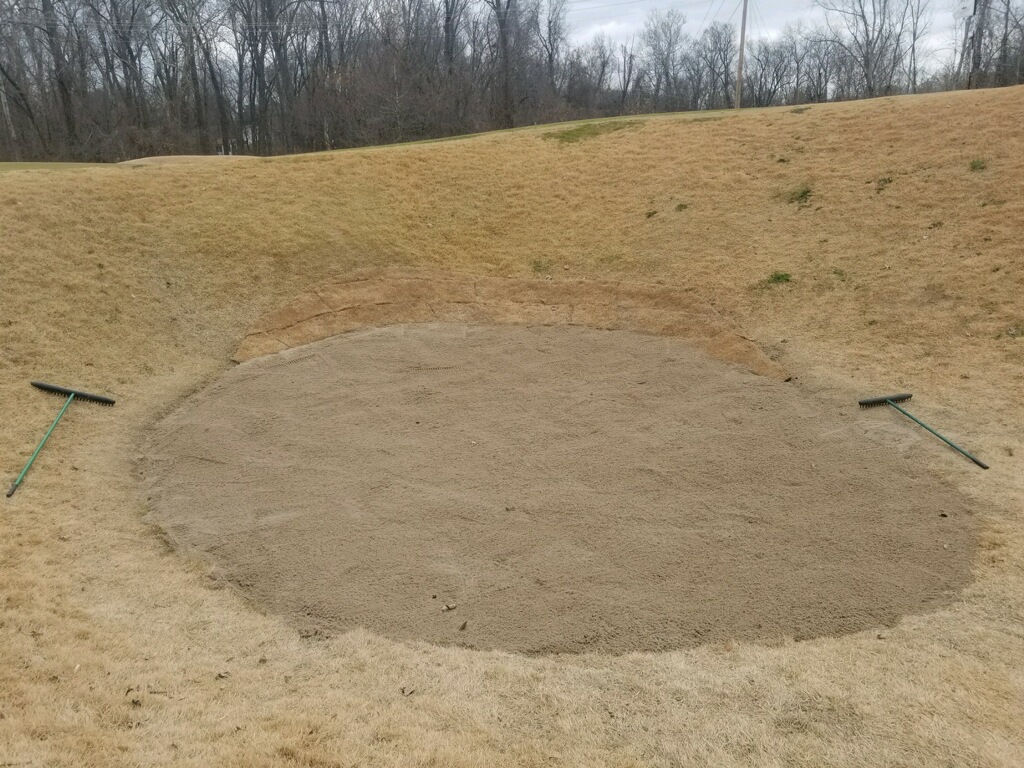

Here is what the final product looks like! The boys worked very hard on the three bunkers we completely renovated. It took two days per bunker to compete and we are very proud of how each bunker turned out.
We thank a strong and supportive membership for always appreciating and helping to provide the materials and man power to continue to provide improvements to the golf course.
Carter DeMay, GCS